What’s Wrong With My Film?: Polaroid Film Troubleshooting 101

There is no doubt in any Polaroid-lover’s mind that shooting Polaroids is a fun experience; however, shooting Polaroids comes with it’s frustrations as well, namely the frustration of shooting a pack of film only to realize there is something wrong with it once the shots develop. We’ve all lost shots for one reason or another, and today I am here to give you a guide to troubleshooting why your Polaroid shots may not be coming out the way you’re hoping they will. Please note that all of the photos being used in this guide are my own and that my answers come from my own experiences with shooting Polaroids and research that has been done over the past 8 years that I’ve been shooting.


Problem: There is a white splotch in the corner of my film.

You can see the pressure fractal near the top left corner.

Solution: This is a “pressure fractal,” which is caused when pressure is put on the film, either when you are pulling it out of the camera or by the camera’s pick arm putting pressure on it during ejection. If you are seeing them in the upper left-hand corner every time, then this is almost certainly a pick arm issue; if you are seeing it in other areas of your photo, then you are probably putting pressure on the film while it is developing/bending the film when taking it out of your camera. It can also be the result of a manufacturing error.


Problem: There are brown/undeveloped areas on my photo.

This film was very out-of-date when I shot it, and the developer paste on the left-hand side was completely dried up, resulting in two-thirds of the image coming out brown.

Solution: This issue is caused by the developer paste not spreading over the entire surface area of the photo. This is typically the result of the film’s developer pods/paste drying out, which happens as your unused film sits — in short, your film is likely expired. You can circumvent some of this by storing your film in the refrigerator, which is recommended (especially if you buy film in bulk and don’t plan on using it immediately) because it helps your unused film to last longer.

The other, less likely issue is that your camera’s rollers are not spreading the developer paste evenly, which is an issue that would require the camera to be serviced.


Problem: The film development is uneven/there is banding in my photos.

You can see a green band over the left third of the image, which, in this case, was caused by the film being expired.

Solution: This is another film developer issue that is caused by the developer not spreading evenly across the photo. Again, the most likely cause is your film being expired or being improperly stored, though it can (but is unlikely to) be the result of a camera roller error.


Problem: There are blue/white streaks on my film/my film has a horizontal streak along the top.

One of my favorite examples of opacification failure from early on in my Polaroid journey; you can see the “lightning” streaks all over this image and where sunllight hit the top of the film as it ejected (this camera’s frog tongue doesn’t work well and needs to be replaced).

Solution: These streaks are the result of an opacification failure, wherein the the layer that protects your film from light once it is ejected from the camera doesn’t have time to mix and spread before the photo is exposed to light when you pull it out of your camera. The streak along the top is caused by light hitting the top part of the photo before it has begun to develop (which makes sense, because the top is the part that ejects from the camera first). A frog tongue is the best way to prevent this error, as it protects your photo from light when it ejects. I suggest leaving your film under the tongue for 10-15 seconds after it has ejected to prevent light from hitting it prematurely. This could also be an issue with your rollers not spreading film chemistry evenly, so make sure to keep those clean. According to some users, this could also be a batch issue; I do notice this problem less frequently with newer film than I did with film a few years ago, so there could be something to this answer as well.


Problem: My photos are coming out with a blue or orange/pink tint and are “pale.”

The greenish-blue tint in this Polaroid suggests it was developed in too cold of an environment — which is obvious, based on the (rare in Alabama) snow depicted in the image.

As always, the danger of shooting at the beach is that it’s usually hot, which causes issues. Here, you can see the orangey tint the photo has due to being developed at too high of a temperature.

Solution: A blue tint with low color saturation means they were developed in too cold of an environment, and an orange or pink tint with low saturation means that they were developed in too warm of an environment. Polaroid film does best when it is developed at temperatures between 55 and 82 degrees Fahrenheit. Also, make sure your camera itself isn’t too hot or cold, as this affects the film! The orange/pink/red tint can also happen if you run your film through x-ray scanners (say, at the airport), so make sure to ask that your film be hand-checked when traveling by air (developed photos can go through x-ray scanners safely, but your unexposed film should not). Different batches of film may also run warmer or cooler (in tint, not in temperature), so, if the saturation is good, it could simply be that the film chemistry itself has a warm or cool tint.


Problem: My photos are coming out too light/too dark.

This photo is “pale” due to overexposure.

This photo is dark due to underexposure.

Solution: This is likely an exposure error. One solution is to adjust the exposure level on your camera. If you are shooting in a bright environment, you need to turn the exposure down/turn off the flash, and if you are shooting in a dark environment, you need to turn the exposure up/turn on the flash. Your photo being overexposed could also be caused by light hitting the film too soon after ejection or by the subject being too close to the camera and becoming overexposed by the flash. Underexposure can also be caused by the camera’s light meter being faulty. What I’ve found is that each of my Polaroids works a little differently and that, once I get to know that camera’s quirks when it comes to exposure, I can compensate for them and nail exposures more frequently.


This is not an all-inclusive list of issues you may encounter, but these are some of the most common ones I’ve seen over the 8 years I’ve been shooting Polaroids. Thankfully, most of these problems are easily solved and can be put down to “user error,” and, the more experience you gain, the more likely you are to achieve consistent results. Personally, I like “flaws” in my Polaroids, so sometimes I’ll manipulate factors hoping for more “experimental” results — it’s all about what you’re looking for when you shoot.

I hope you found this guide useful and, if you have any questions, leave me a comment or contact me via the “contact” link at the top of the page. Thanks for reading!

Polaroid should make experimental film more often! And other musings

A few weeks ago, Polaroid put out a new experimental film — Reclaimed Blue. According to their website, Reclaimed Blue is a film that one of their lab scientists, Brian, accidentally created while trying to improve their existing color film formula. At the time of launch, Polaroid put out this hilarious video to introduce the film:

Polaroid’s video introduction to the Reclaimed Blue film, to which I own 0 rights — I am linking it for educational purposes only

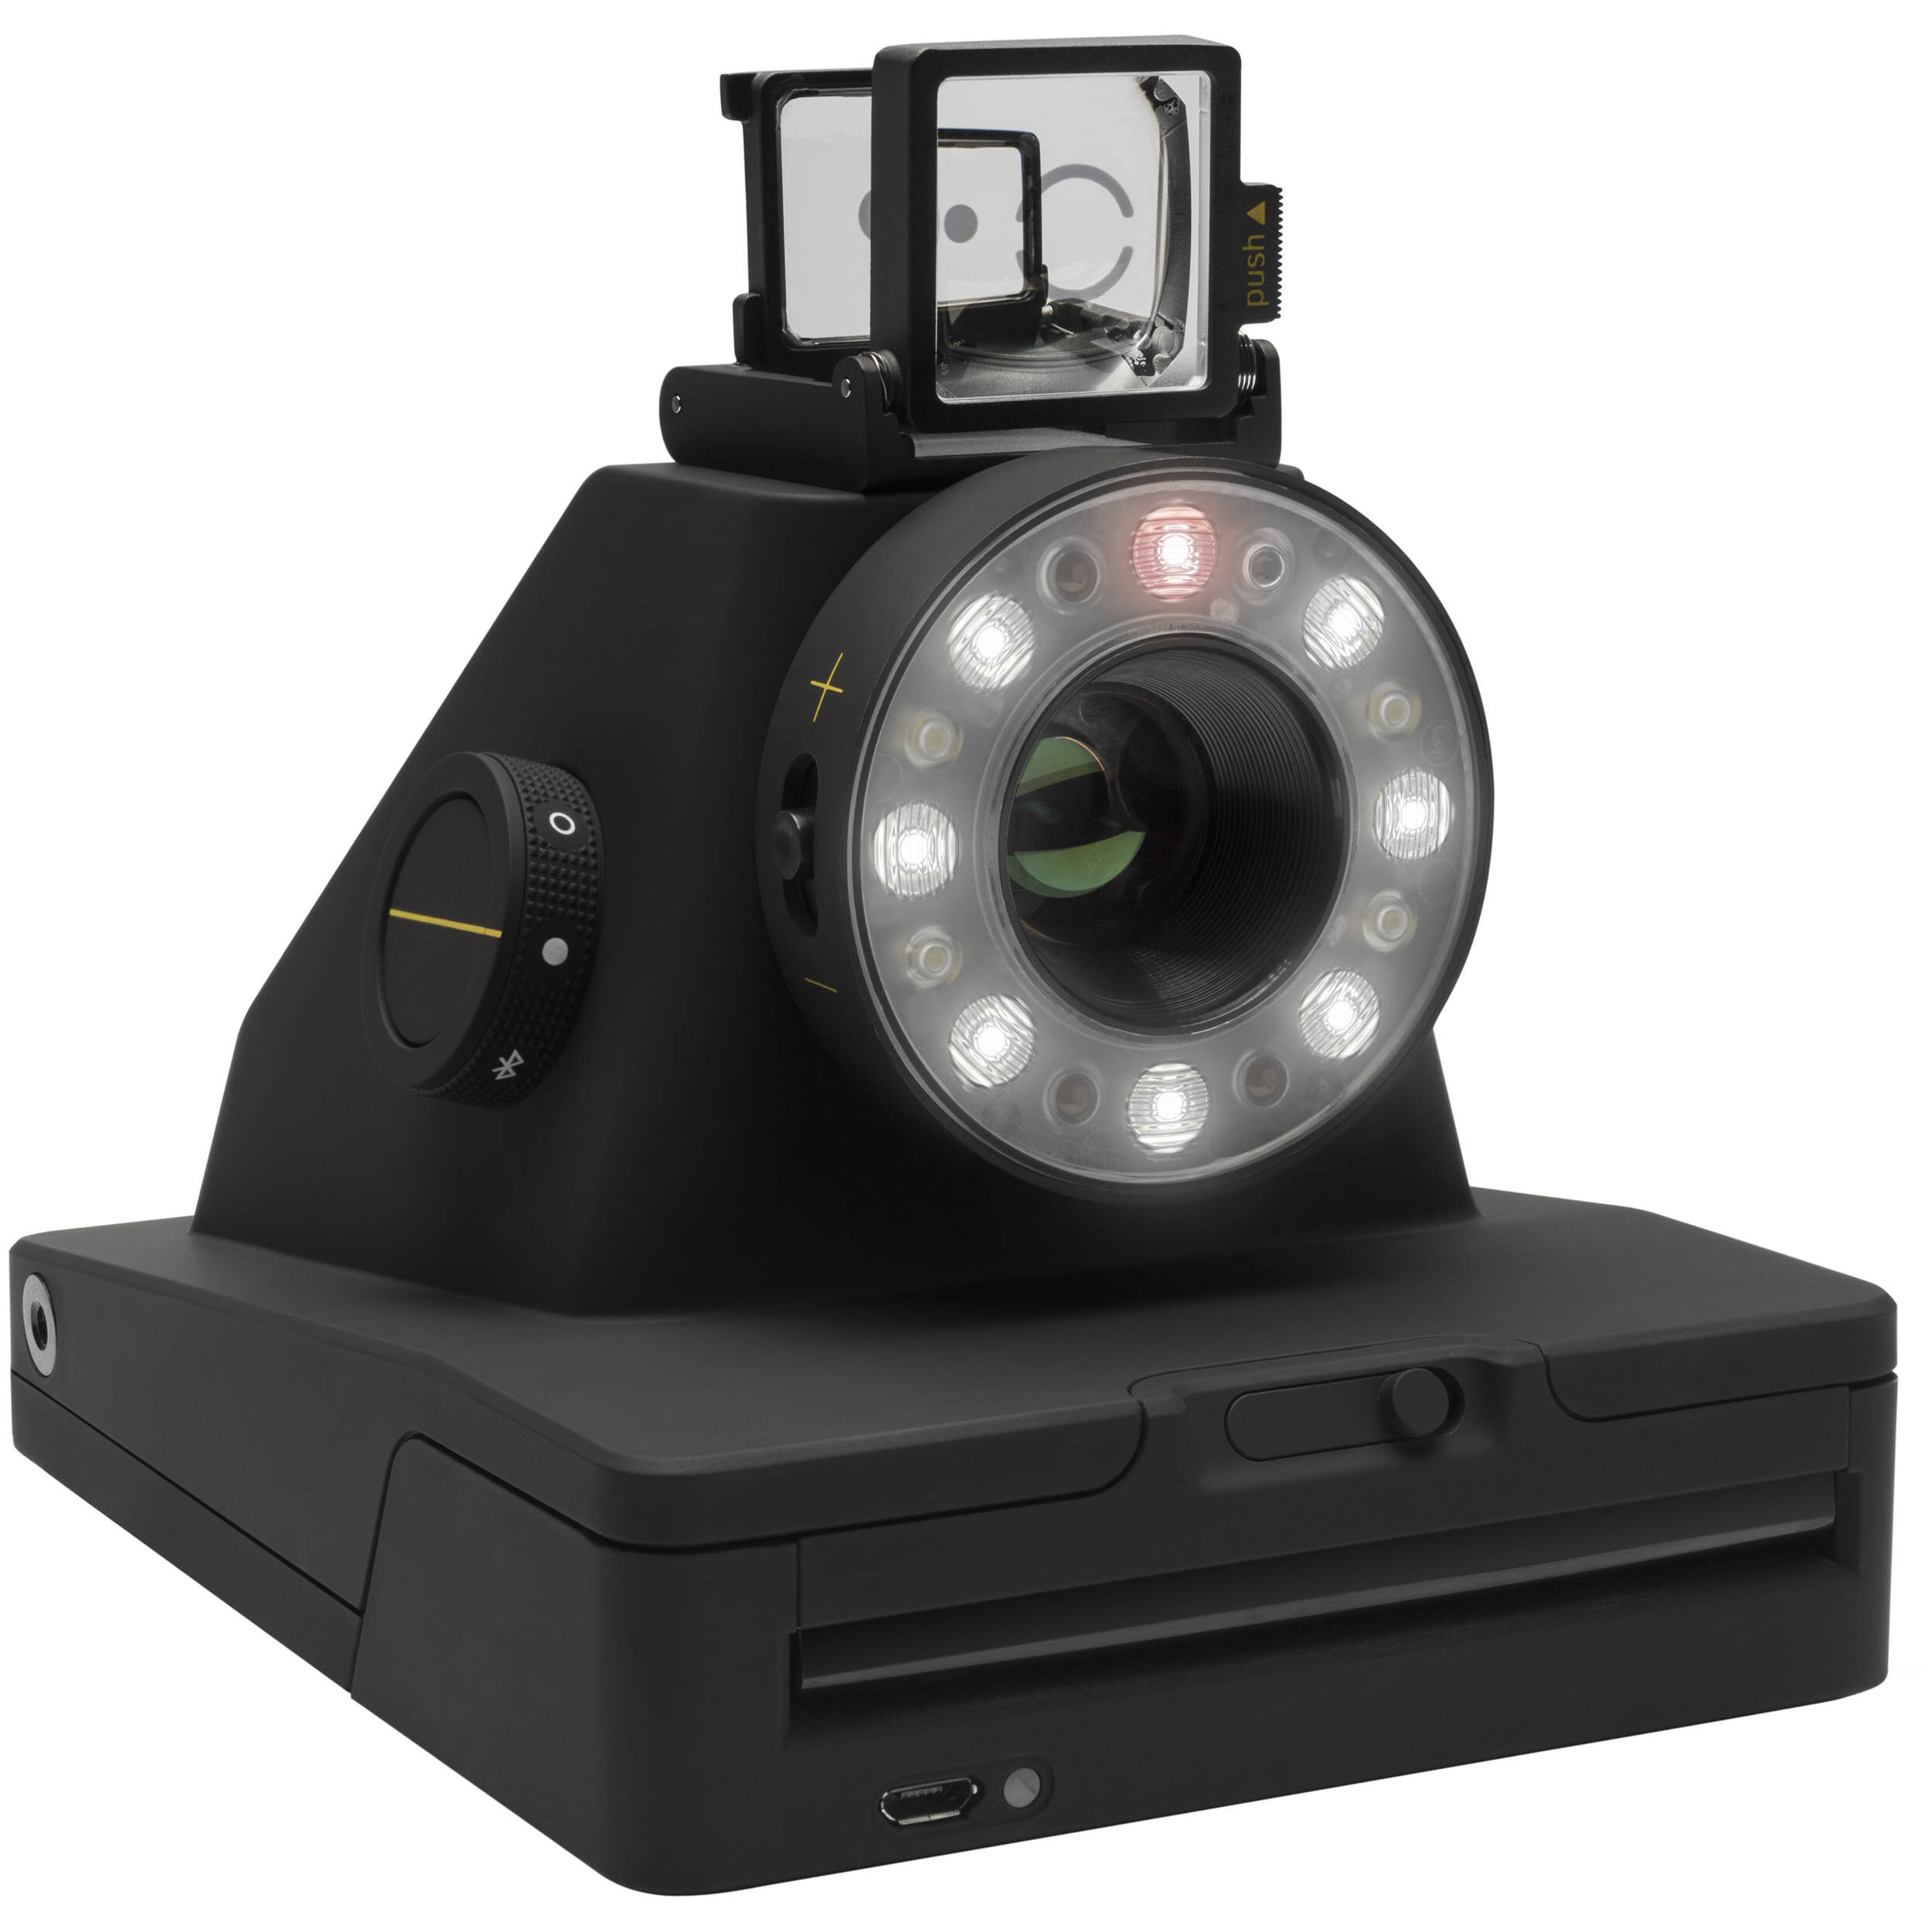
Needless to say, I think Brian is a pretty cool guy, and I was immediately taken with this film and the story behind it. Upon its release, I ordered several boxes, and while I was on vacation last week, I shot a pack on my Polaroid 660AF.

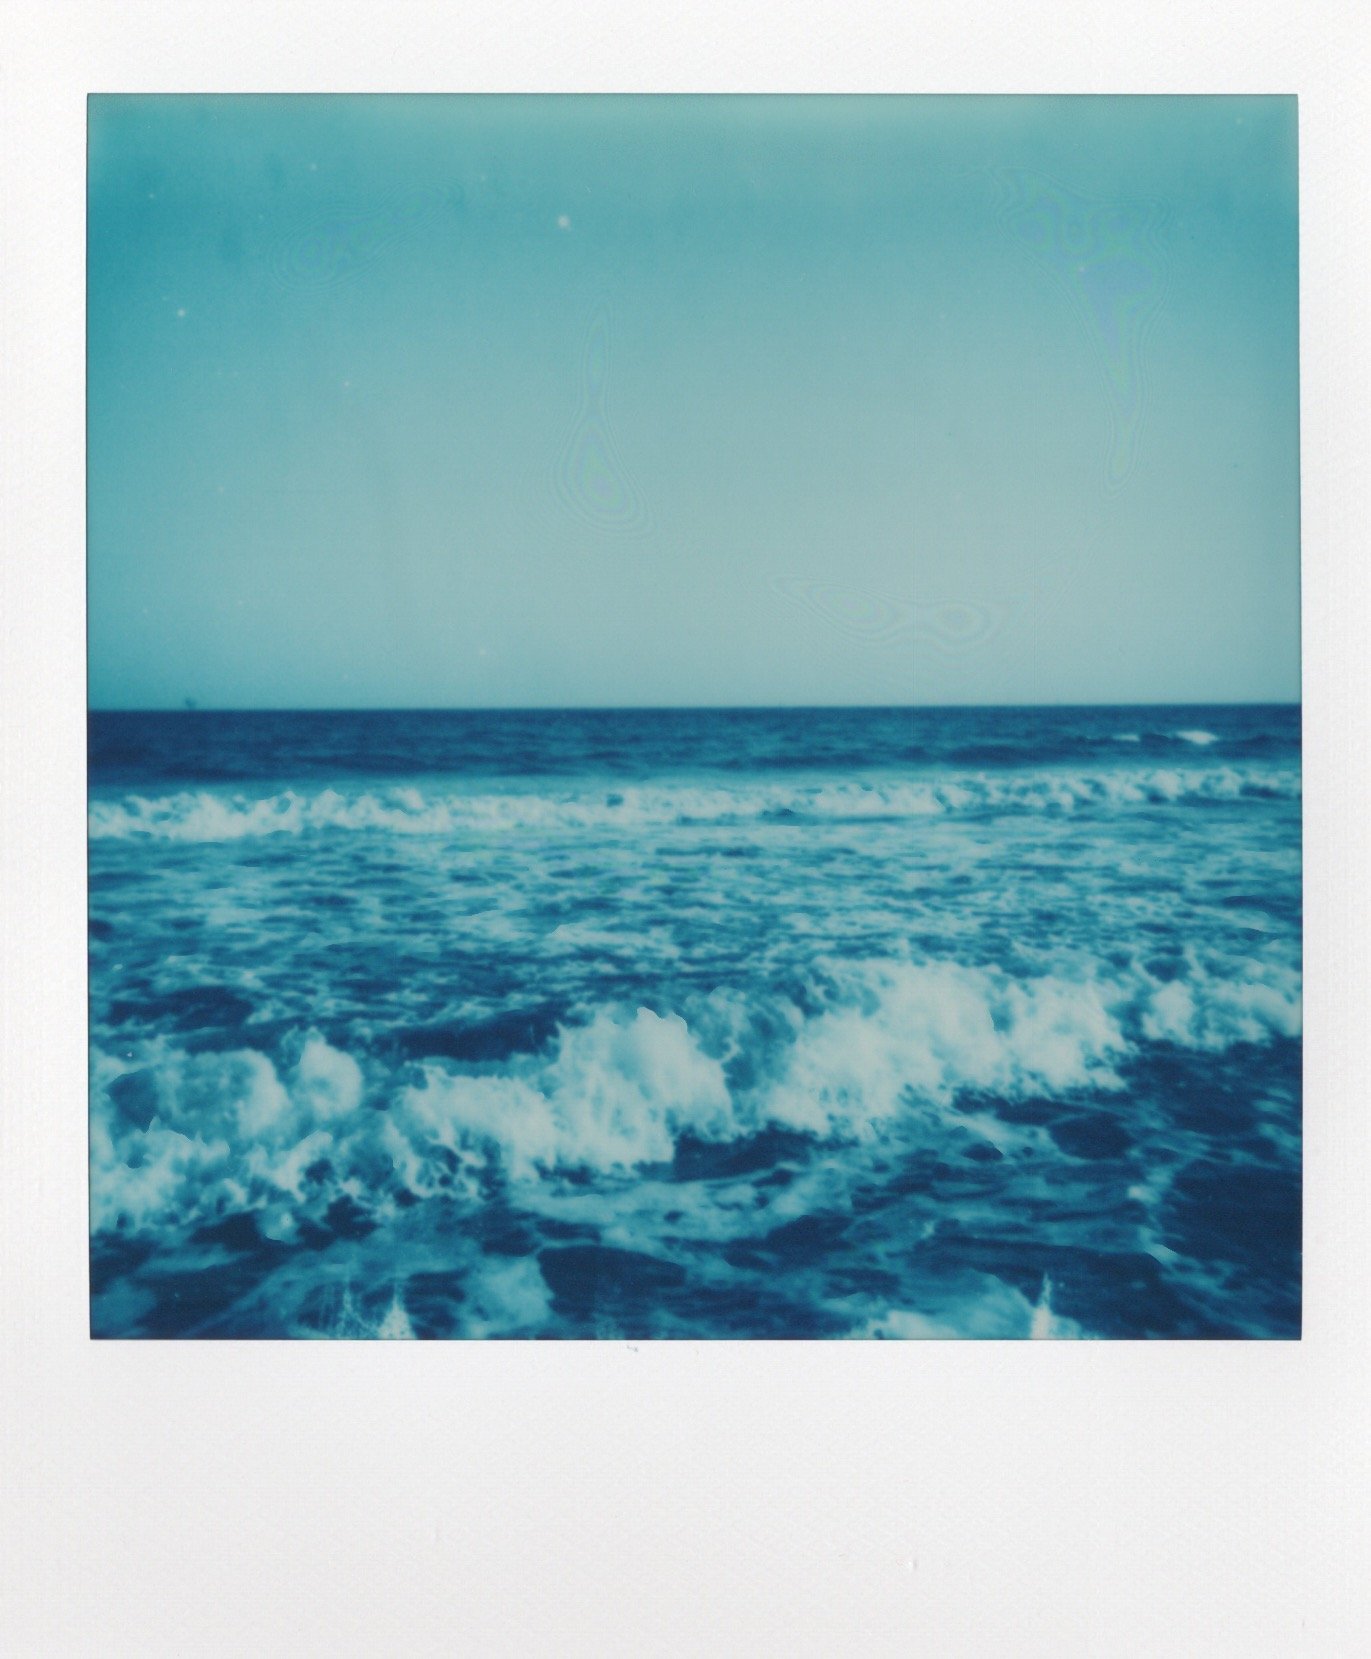
My first impression is that it is quite different from their duochrome film, which is a comparison one might be tempted to draw upon first look. I find that it is closer to their black-and-white film in how it handles various tones (which makes sense because part of the film’s chemical makeup is the TBHQ chemical from their black-and-white film). It worked best for me when underexposed, as does their black-and-white film; that method gave me the most detail and the most contrast. This will likely vary from camera to camera and from photographer to photographer, depending on personal preference — I myself prefer the darker, contrast-ier look, and underexposing is how I achieved it. It developed in 10-15 minutes, which is also like their black-and-white film, so you will see the results of your experiment fairly quickly. As their website says, it’s not monochrome, it’s not duochrome, and they didn’t add blue dye to the chemistry — this film just happened, and it isn’t all that definable, and that’s what makes it great.

Here are a couple of images from my trip (to see the rest, follow me at kelseycollierphotography on Instagram, or click the Polaroid III gallery link at the top of this page):

Taken at Dauphin Island, AL

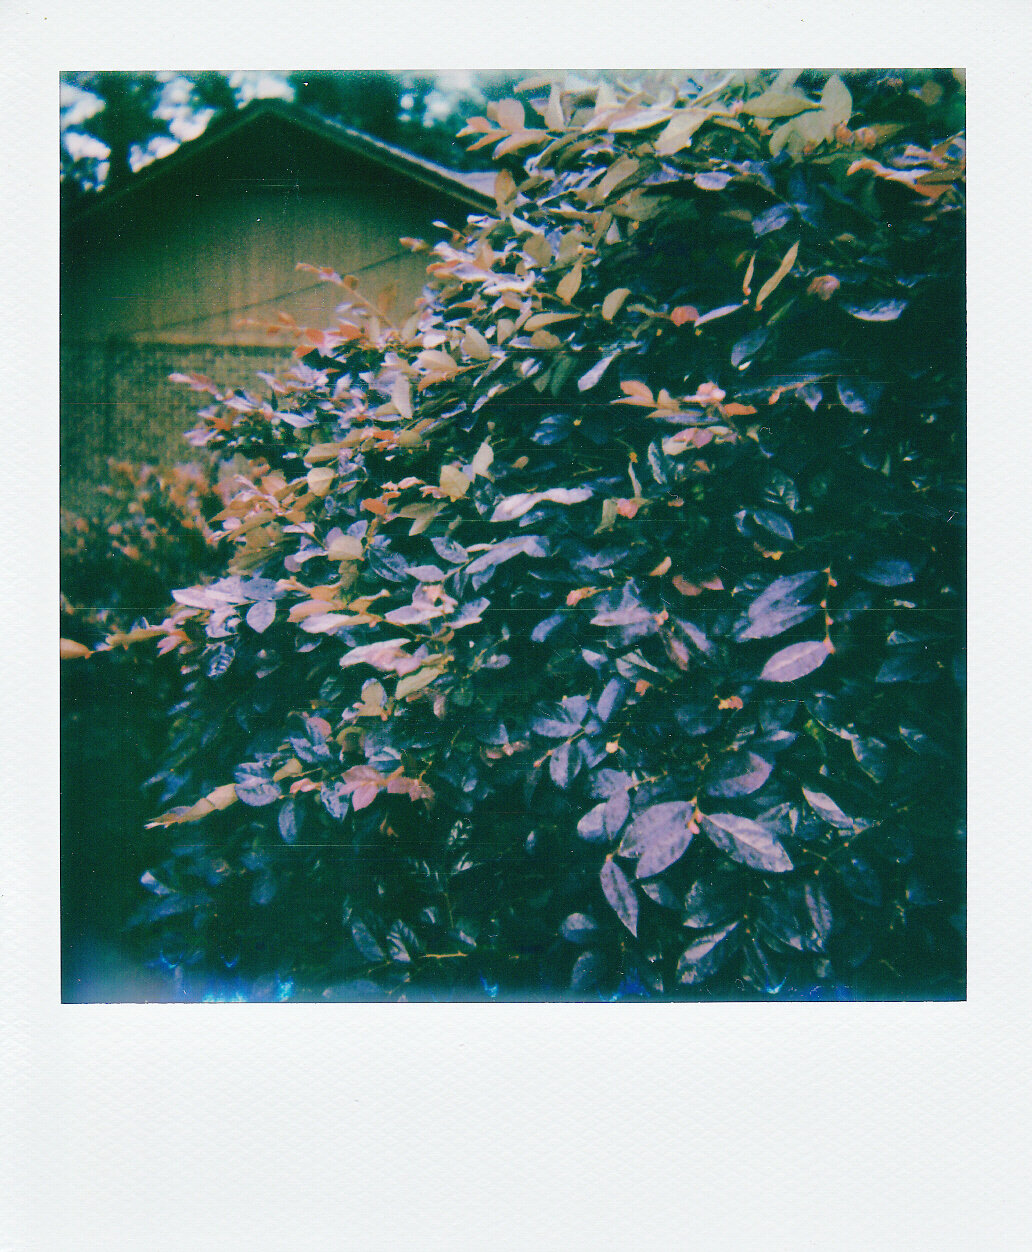
Taken at Dauphin Island, AL

I had a lot of fun playing with this film, and I am super excited to shoot my other boxes and see what I can create, especially as the weather warms up (we all know Polaroids react differently in different circumstances!).

I hope Polaroid continues to make more experimental film, and I hope they consider bringing back some of the older duochromes and maybe adding colors to the range. The first ones I shot were red, orange, yellow (which all came in a package together back in the Impossible Project days), and pink; I think it would be cool to see them bring those colors back. Last fall, they made a limited green duochrome, and I’d be interested to see what other colors we could get in the future (purple, anyone!?).

Another hope for the future is that they bring back some of the cool frame editions for the 600 cameras. I know this is a stretch because they’re trying to upsell their i-Types and have largely transitioned away from creating new frames for the 600s, which I totally get. But, a photographer can dream, can’t they?


As always, I hope you all enjoyed this post, and I will see you all next time! I have a new-old camera on the way that I can’t wait to share with you all and several rolls of film that are about to be dropped off at a new film lab in town, so stay tuned for posts about those over the next couple of weeks!

It feels great to be back!

—Kelsey

Self-Isolation: Wrap-Up and Next Steps

What a time this has been.

Most of you who are reading this have probably seen, either through this website or on my Instagram, that I spent my self-isolation period taking one Polaroid for every day that I was home (there are 50 days and 51 photographs total, for any new visitors out there). I am officially back at work now, and can therefore no longer call any new images “Self-Isolation,” because I am no longer technically self-isolating (though I am not going anywhere except for to work — rest assured that I am still taking all possible precautions, because I understand that this crisis is FAR from over). Because this series has ended (unless another lock-down happens in the future, in which case, expect a part II), I wanted to sit down and take the time to a) talk about my experience making this new series of work and b) discuss my plans for the future and a few exciting things that are happening.

If you aren’t aware of my past work, I am a photographer who works primarily with Polaroids, and I use the medium to explore my surroundings and what “home” means to me (feel free to read my bio to get the expanded explanation). I began the body of work entitled Home in the fall of 2017 when I was beginning to work on my senior portfolio for my BFA program, and have been photographing my home since my first college photography class in the spring of 2015. Clearly, I have spent a lot of time thinking about my surroundings and the meaning that I draw from them, so, to me, picking up my Polaroid camera and expanding my Polaroid collection was a natural response to being stuck at home due to the current pandemic.

One thing I found myself doing while creating this series, which can both stand alone and be integrated into my already-existing body of work, something that was important to me when beginning this project, was finding new ways to explore parts of my home (and the front and back yards surrounding it) that I have already explored in photographs before. I experimented with new angles, zoomed in on specific scenes, and even managed to find a few things that have yet to be photographed, either because I haven’t gotten around to them or because they have changed over the past two-and-a-half years. Doing this series has re-invigorated my work in a way I did not believe was possible, and it has encouraged me to continue with a series that, a year ago, I proclaimed I was closing the doors on. I have been genuinely excited to make work every day, and not being able to call the series “Self-Isolation” anymore does not mean that I won’t continue to make photographs as often as I can.

I said in my last blog entry that I had not yet decided how I want to continue with my work; one idea that I have had that I want to try out is making a “Photo of the Week” post each Saturday to highlight my favorite image from that week, and continuing to put photos up on my Instagram and in my Polaroid gallery on this website. This seems the most reasonable way for me to continue to share my work without overwhelming the blog with new entries, since I want to get back to writing about photography and don’t want it to get lost in a sea of photographs or to disrupt the flow of any posts I am making (I hope that all makes sense). Another thing I have been doing during this time is playing with some new digital work that involves the use of crystal balls also known as crystal ball refraction photography, some of which you can find in the “film and digital” section of my site, and I am hoping to use this technique to add an interesting twist on my home photography sometime in the near future (also, if anyone knows of a reasonably priced macro lens I could add to my wish list, let me know!). Two final ideas I am considering are getting back into film work, since I have found a lab to send film to for development, and really delving into the world of cyanotypes, which I learned to do in a college photography course, but never took much interest in incorporating into my work until recently (I am drawn to these because they are relatively cheap to make and require only sunlight and water for development, making them a great at-home project). All this to say, I have a lot of ideas, and I am excited to explore all of my creative options.

Finally, I want to mention that I got a public feature in a local news article about photographers using creativity to stay connected during the COVID-19 isolation period, which I encourage you to check out here, since there are 4 other talented locals featured that I think you all should check out. This came as a total but welcomed surprise to me this morning, and I am grateful to have my work recognized, especially since I feel that this is the best work I have produced in a long time (thank you so much, Bham Now!).

FINALLY finally, thank YOU ALL so much for loving and supporting my work. I have enjoyed reading your comments and messages, seeing your reposts, and staying connected with you all during this time. I truly believe that creativity brings us all together and helps us to better relate to one another, and nothing has reaffirmed that belief more than seeing the outpouring of love you all have given my work and me over the past several weeks. For the next few days, I will be taking a break in photography to focus on a few life things, but I will be back soon with new photos and new blog posts focusing on a variety of photography-related topics (if there is anything you want me to cover, leave me a comment, send me an email, or message my on my Instagram @kelseycollierphotography — I am always open to suggestions and requests).

Thank you all again for sticking with me; I hope you and yours are well, and may peace be with you.

— Kelsey

Self-Isolation, Day 44: Anxious

SI_Day44_NEW.jpg

Self-Isolation, Day 44: Anxious

"It takes a lot of imagination to be a good photographer. You need less imagination to be a painter because you can invent things. But in photography, everything is so ordinary; it takes a lot of looking before you learn to see the extraordinary."
— David Bailey